之前上传了很多的图片没有使用过水印,怎么样快速的给全站加上水印输出。但是又没有改变原图呢?
这个时候就需要nginx的伪静态和iis的重写规则了。基本上iis和nginx一样处理,如下就是用nginx举例。
需要重写目录下的jpg格式的图片。
当然在服务器资源有限的情况可以进行如下处理,或者nginx安装模块 https://github.com/3078825/ngx_image_thumb
iis可以在安装管理搜索到相关插件
当然可能插件不能满足要求,那就只能用PHP处理或者其他相关语言处理了!
我们先需要新建一个watermark.php
代码如下:
<?php
$path = $_GET['images_url'];
$dst_path = $path;
if (!is_file($dst_path)) {
$dst_path = '.' . $dst_path;
if (!is_file($dst_path)) {
echo '
<html>
<head><title>404 Not Found</title></head>
<body bgcolor="white">
<center><h1>404 Not Found</h1></center>
<hr><center>nginx/1.6.2</center>
</body>
</html>
<!-- a padding to disable MSIE and Chrome friendly error page -->
<!-- a padding to disable MSIE and Chrome friendly error page -->
<!-- a padding to disable MSIE and Chrome friendly error page -->
<!-- a padding to disable MSIE and Chrome friendly error page -->
<!-- a padding to disable MSIE and Chrome friendly error page -->
<!-- a padding to disable MSIE and Chrome friendly error page -->
';
exit;
}
}
//创建图片的实例
$dst = imagecreatefromstring(file_get_contents($dst_path));
$info = getimagesize($dst_path);
$y = $info[1];
$x = $info[0];
if ($x > 300) {
$text = 'apiz.com 爱资料';
if ($x > 300 && $x < 500) {
$text = 'apizl.com';
}
//打上文字
$font = './data/mark/simhei.ttf'; //字体
$black = imagecolorallocate($dst, 0, 0, 0); //字体颜色
imagefttext($dst, 20, 0, $x / 1.7, $y - 10, $black, $font, $text);
}
//输出图片
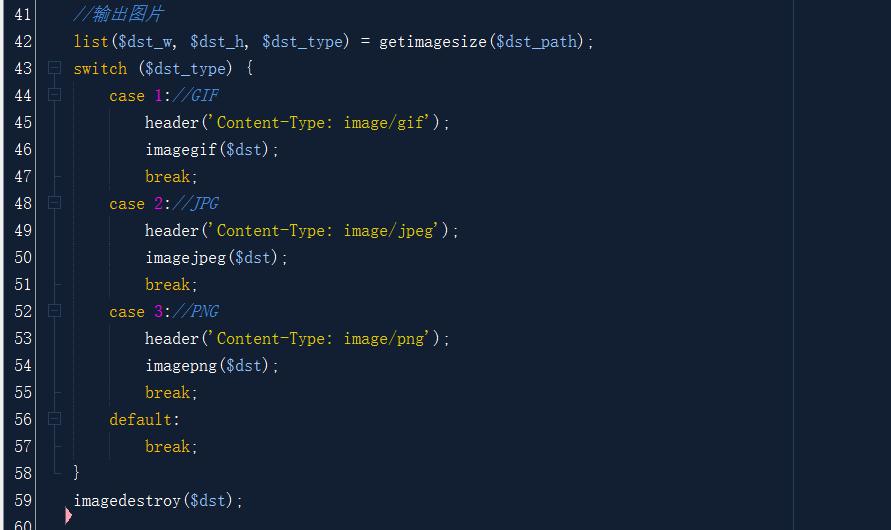
list($dst_w, $dst_h, $dst_type) = getimagesize($dst_path);
switch ($dst_type) {
case 1://GIF
header('Content-Type: image/gif');
imagegif($dst);
break;
case 2://JPG
header('Content-Type: image/jpeg');
imagejpeg($dst);
break;
case 3://PNG
header('Content-Type: image/png');
imagepng($dst);
break;
default:
break;
}
imagedestroy($dst);
然后我们nginx的规则如下
#images
rewrite '^/uploads/(.*jpg)$' /watermark.php?path=/uploads/$1 last;
再次访问时候我们会发现对图片已经做了水印处理,但是原图本身是没有水印的。
当然可以修改如上脚本做缩略图的处理或者裁剪处理!
关键字词:
相关文章
- nginx woff2加载报错404
- nginx禁止访问某个文件和目录(文件夹)
- nginx 隐藏或屏蔽返回版本信息
- nginx 提示An error occurred 解决方法
- nginx 防止 get请求下载htaccess
- nginx上传大附件 client intended to send too large body 187716882 bytes,
- nginx http301转跳 无www转跳到www域名
- nginx常见错误 500错误
- linux 下nginx 中伪静态错误 directive "rewrite" is not terminated by ";" in
- linux下lnmp错误( [emerg] "try_files" directive is duplicate in /usr/local/nginx/conf/pathinfo.conf:4 failed)


